Let's get ready for Christmas using lots of products from TLC Designs .

Stencil: Snowy & Evergreen
Stamp: The Gift of Love
Die: Daisy Frame
Embellishments: Chilly Fun Sprinkles

I inked the stencil with assorted colors of Distress Inks.

I cut one of the panels 5" x 5" and inked around the panel.
Matting it with green cardstock , I wrapped the panel with ribbon then adhered it to a brown card.
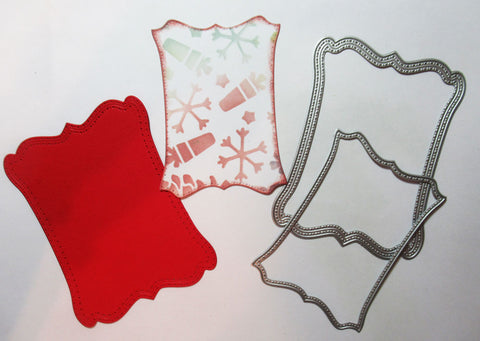
Using the smallest die from the Daisy Frame Die, die cut the second stenciled panel.
Die cut red cardstock with the next sized die.

Stamp, color and fussy cut the angel and phrase.

Finally, assemble the card and add the embellies to the snowflakes.

Thanks for stopping by.
Steph